

Cable Management: The Unsung Hero of a Tidy Office
Desk cable management is the job everybody agrees is worth doing and nobody ever books time for. It stays undone until the day somebody catches a foot in the nest under desk three, or a new starter arrives and there is nowhere to plug anything in without crawling.
It takes an afternoon. Here is what each part is for, and the order to do it in so you are not underneath the same desk twice.
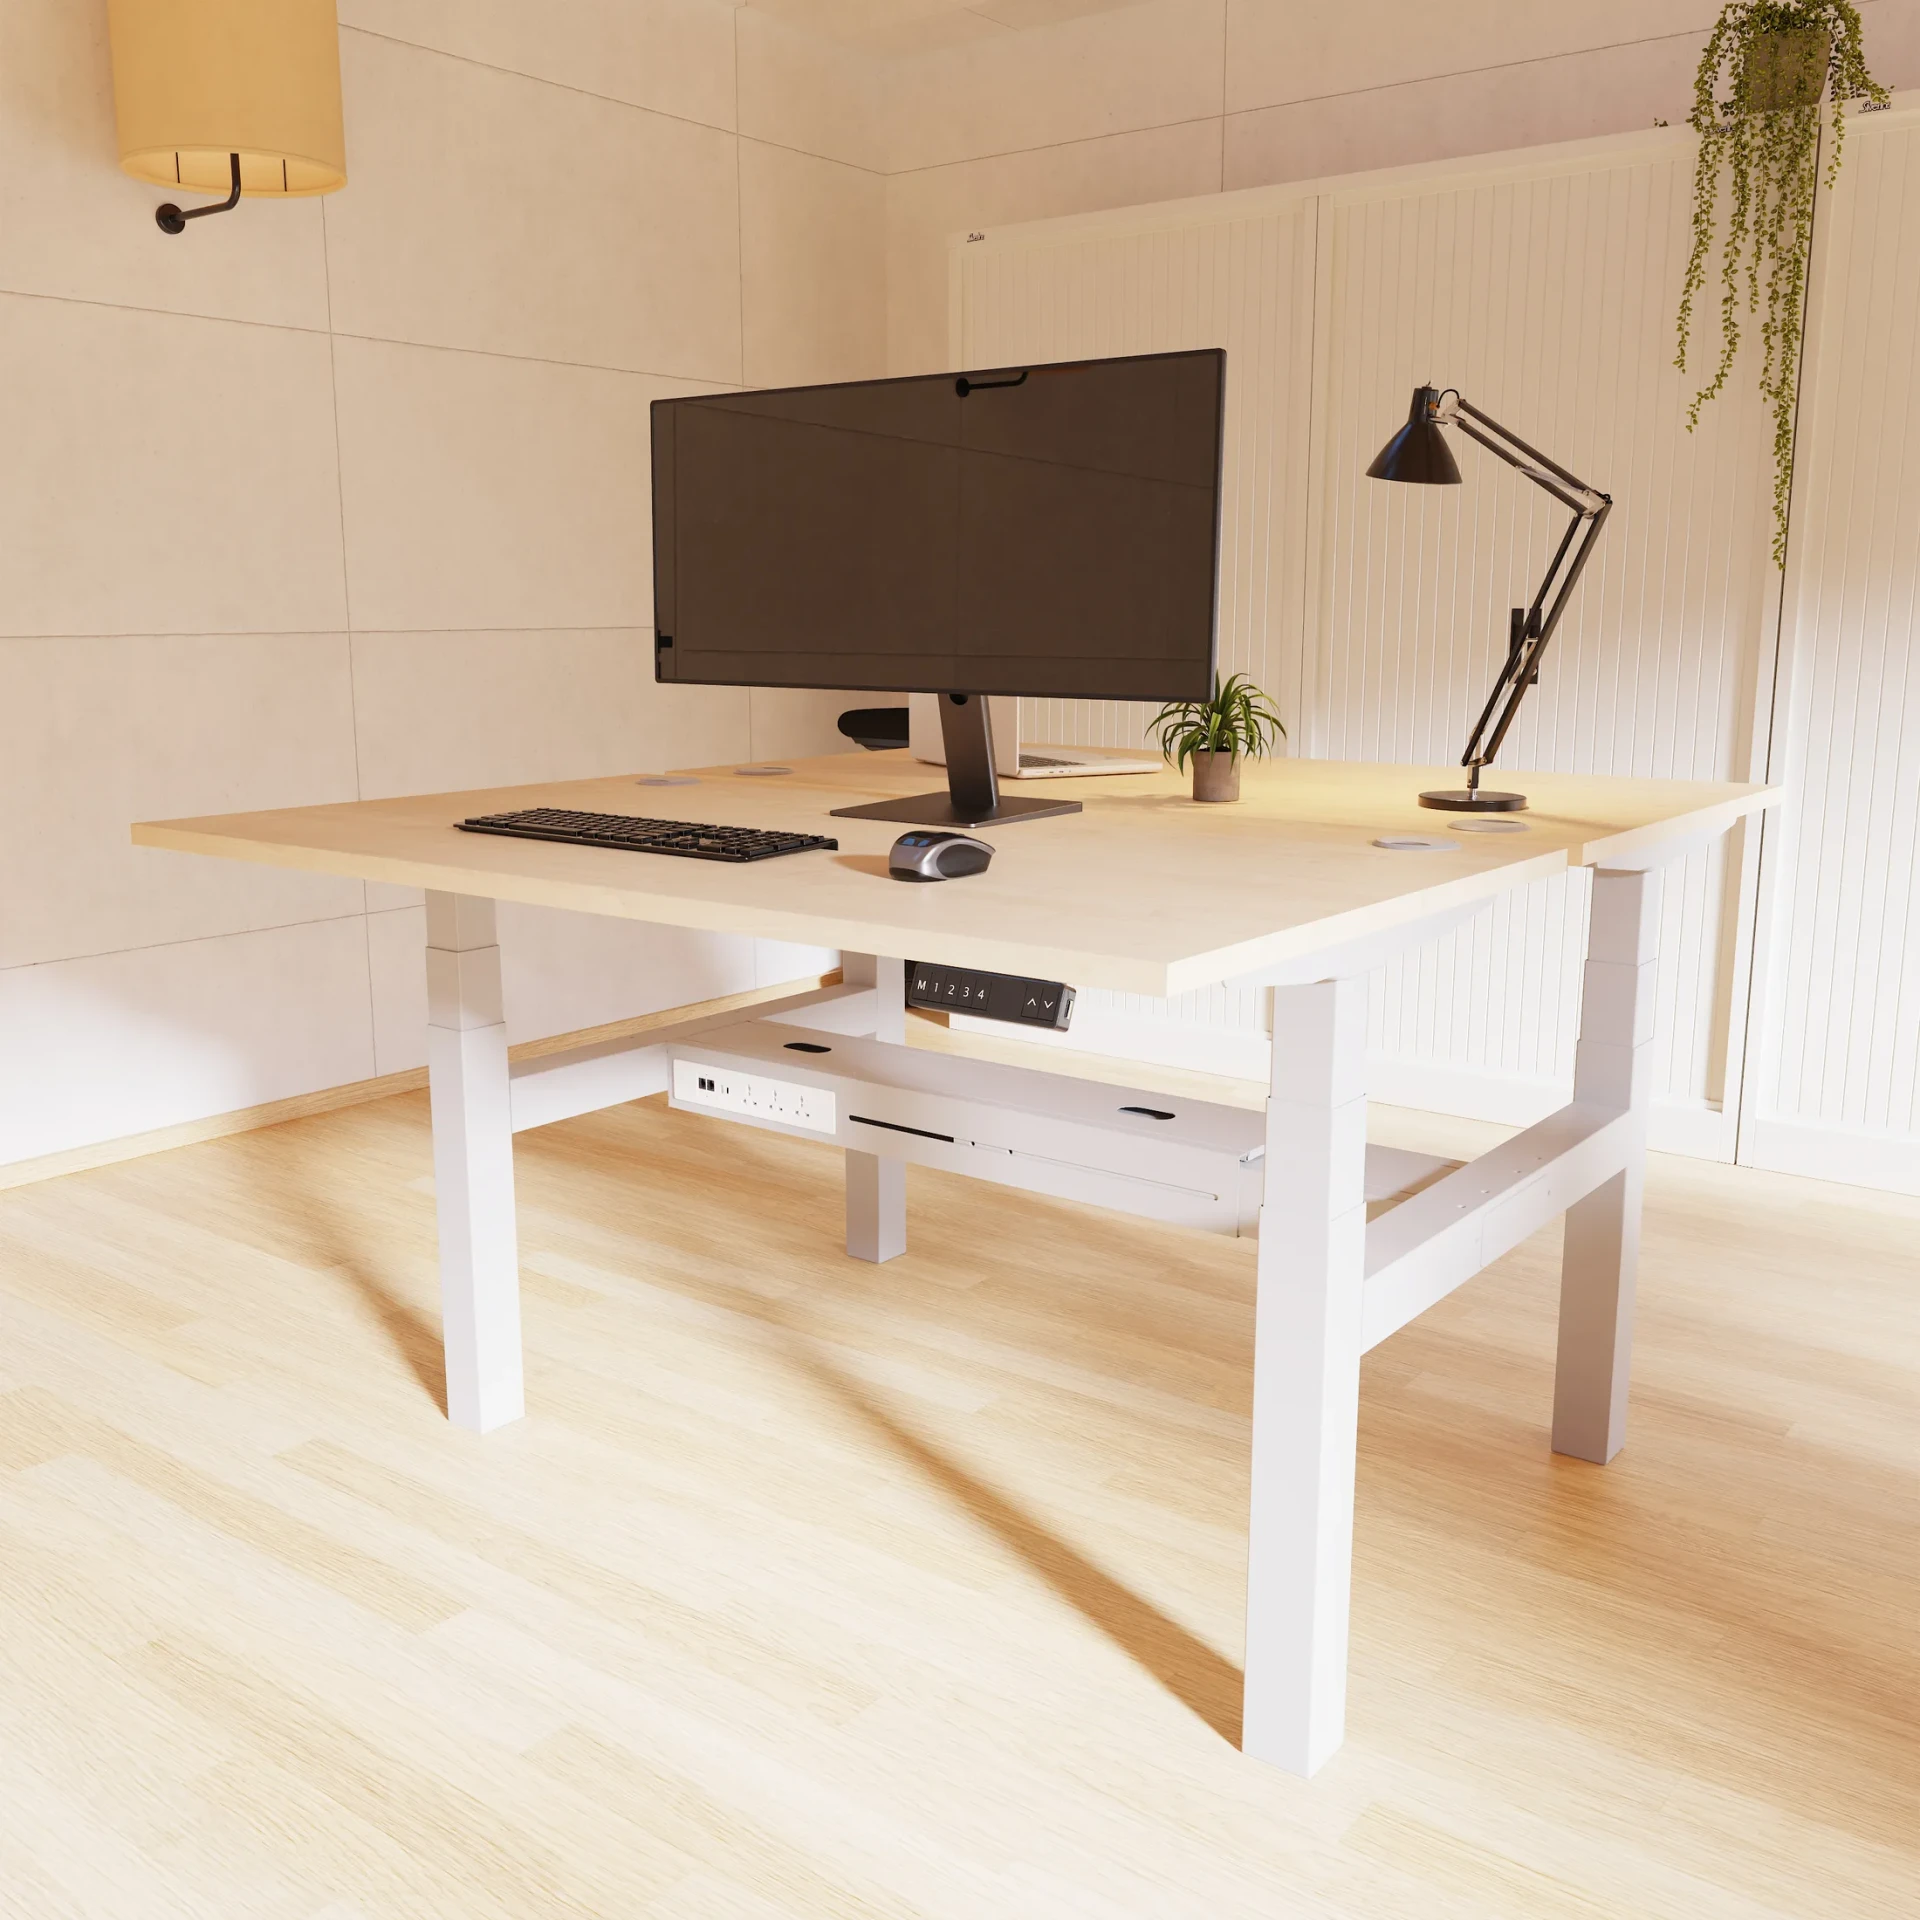
What each piece actually does
The tray
A metal basket that bolts under the desk top and holds the plug block, the power brick and the slack. This is the one that does most of the work, because the mess under a desk is mostly slack cable and power supplies with nowhere to sit.
Get one that telescopes. The universal telescopic tray runs from 66cm to 115cm wide, so it fits whatever desk it ends up under when the office gets rearranged, which it will.
The spine
A vertical channel that carries cables from the tray down to the floor box or the wall socket. On a bench desk it is the difference between a tidy run and six cables draped down a leg. A cable spine is typically about 63cm tall and 14cm square, and it drops in behind the desk where nobody looks.
Grommets and ports
The round or rectangular holes in the desk top. They exist so cables come up in one place rather than over the back edge. Most desks have them already, and a surprising number of offices never use them because a monitor got put on top of one on day one.
Clips and ties
The cheap bit at the end. Velcro ties rather than cable ties, because you will be undoing them. Any office that uses plastic ties on cables ends up cutting them off with scissors within a year.
The order of operations
Do it in this order and each desk takes about fifteen minutes.
Unplug everything and pull it all out. Every job that goes wrong is one where somebody tried to tidy around what was already there.
Fit the tray first, while there is nothing in the way. It wants to sit at the back of the desk, not the middle, or it will meet somebody's knees.
Put the plug block in the tray and fix it down. A loose block in a tray slides about and undoes half the benefit.
Run the mains lead down the spine to the socket. That is the only cable that should reach the floor.
Bring the desk cables up through the grommet, not over the back edge, and leave a hand's width of slack at the top so the monitor can still be moved.
Tie the slack in the tray with velcro, label anything that is not obvious, and get out from under the desk.
Two mistakes worth avoiding
The first is tidying a desk that is about to move. If the office is being rearranged next month, wait. Cable management done properly is not quick to undo, which is rather the point of it.
The second is forgetting the height adjustable desks. A sit stand desk changes the distance to the floor by half a metre several times a day, and cables run tight at sitting height get pulled out at standing height. Those desks need enough slack for the top of the range and a spine that can take up the difference, or you will be repairing the same cable every fortnight.
Everything in the cable management range lists its size and what it fits, so you can check a tray clears your desk frame before it arrives rather than afterwards, on your back, with a torch.
Contents

Marketing Manager
Gets Deskwell in front of people, then makes the words sound like us.